Combining Course and Terrain Models with Boolean Modifiers in Blender
I don’t know jack about Blender, the free 3D modeling program, but I have found it useful for combining pieces of my 3D printed landscape models. It performs boolean operations quickly and produces clean output (valid STL files). However, the interface is notoriously intimidating to new users – myself included – so here is a screenshot-illustrated guide to the process I’ve worked out to make a few types of route + landscape models.
This is not a general-purpose tutorial. It is focused on the task of combining an STL terrain model with an STL course model. Both inputs are assumed to exist and to be pre-aligned at the same scale and orientation. (I will explain my process for creating those models in a subsequent tutorial.)
Startup
Start up Blender. I have version 2.69. Click to dismiss the welcome screen that may appear. You’ll see an initial workspace like this:

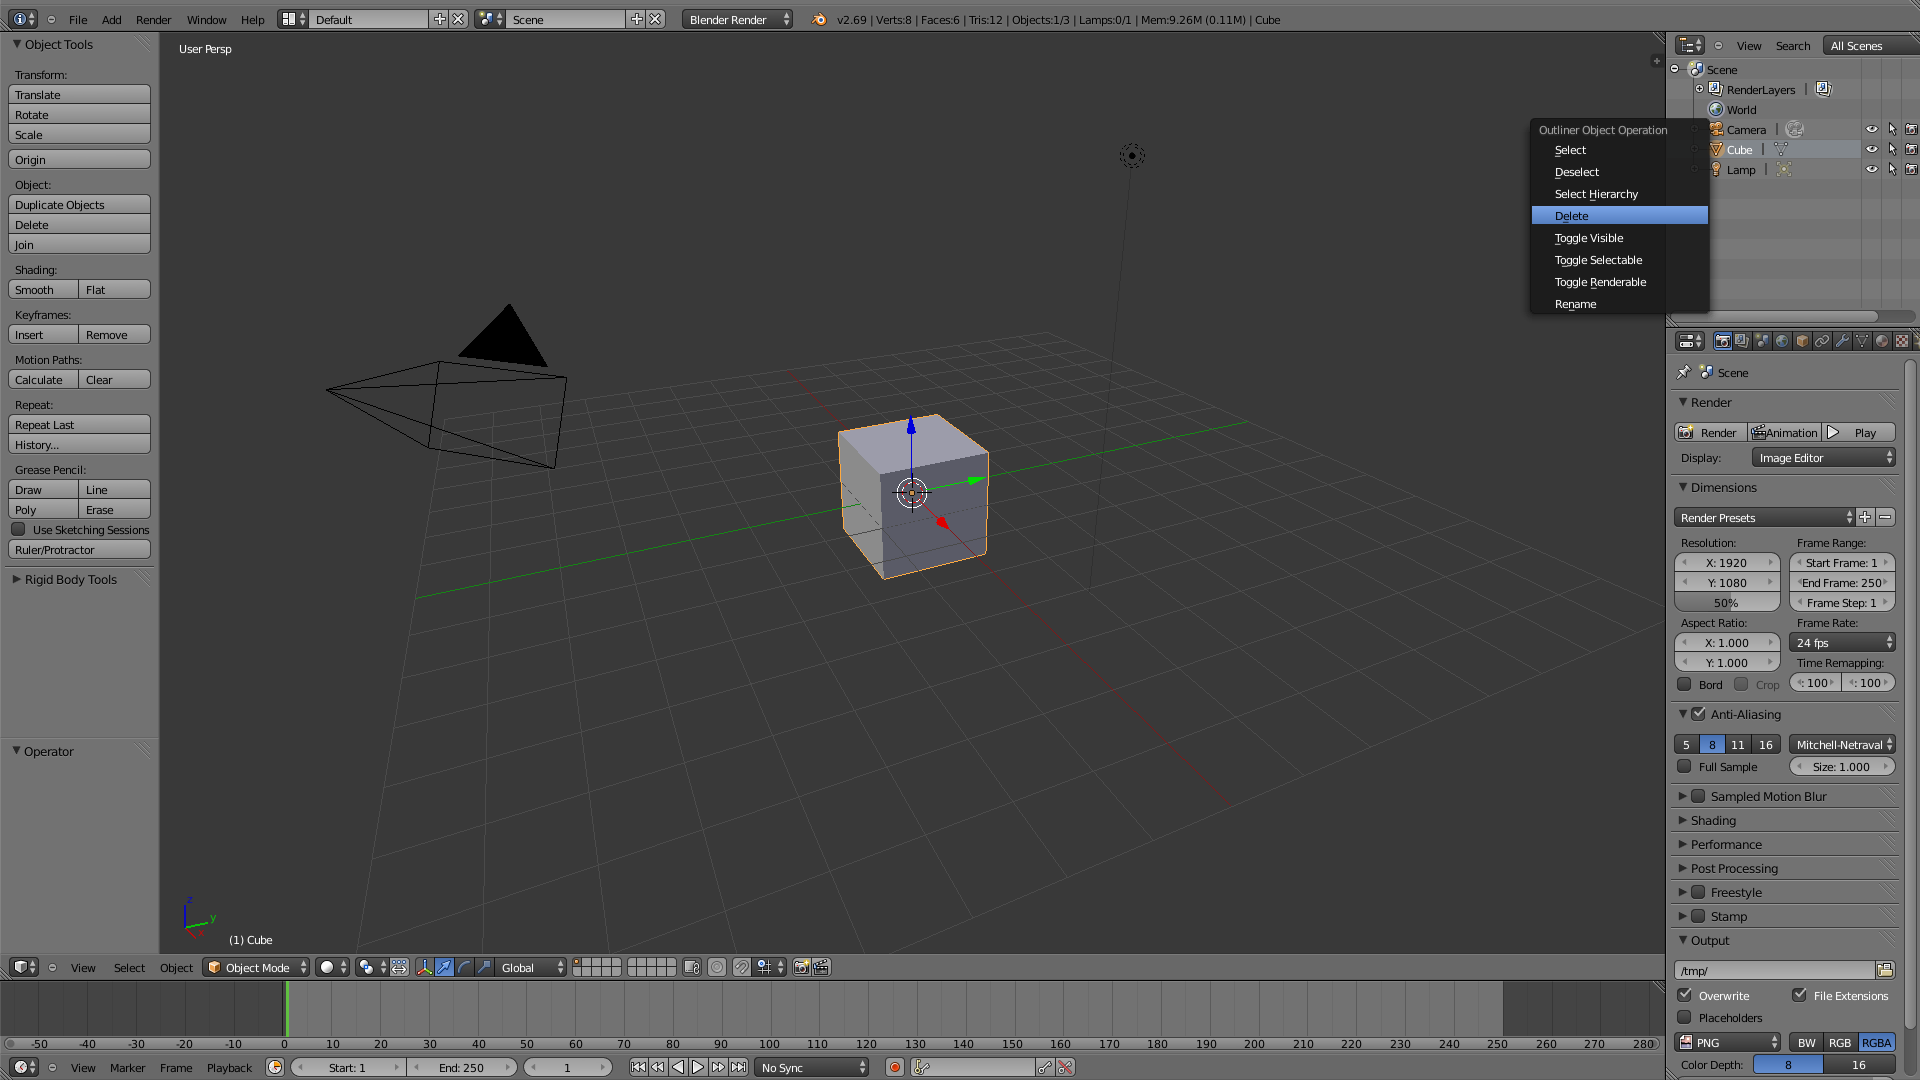
To clear the workspace, turn your attention to the Scene list in the upper right corner. Right click the default Cube item and select Delete:
Loading Models
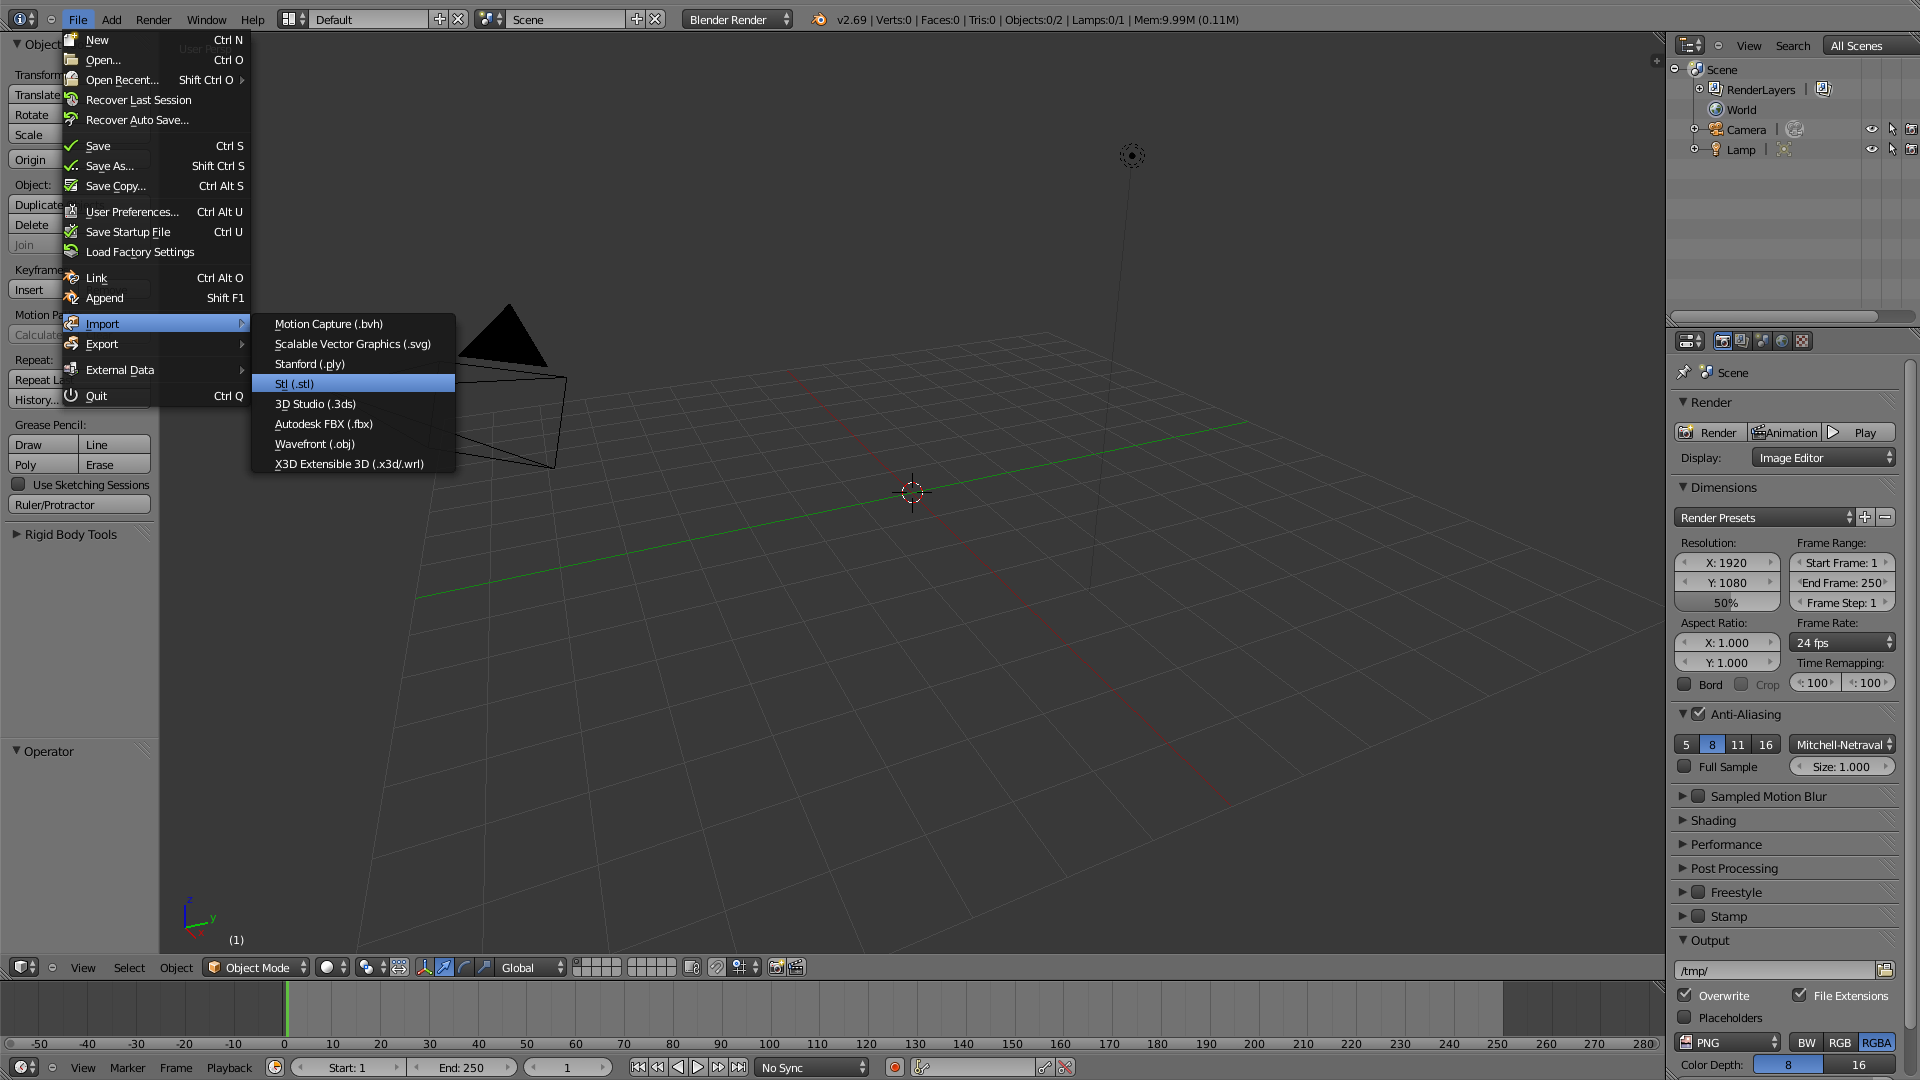
To load a model, go the File menu, select the Import submenu, and choose Stl:
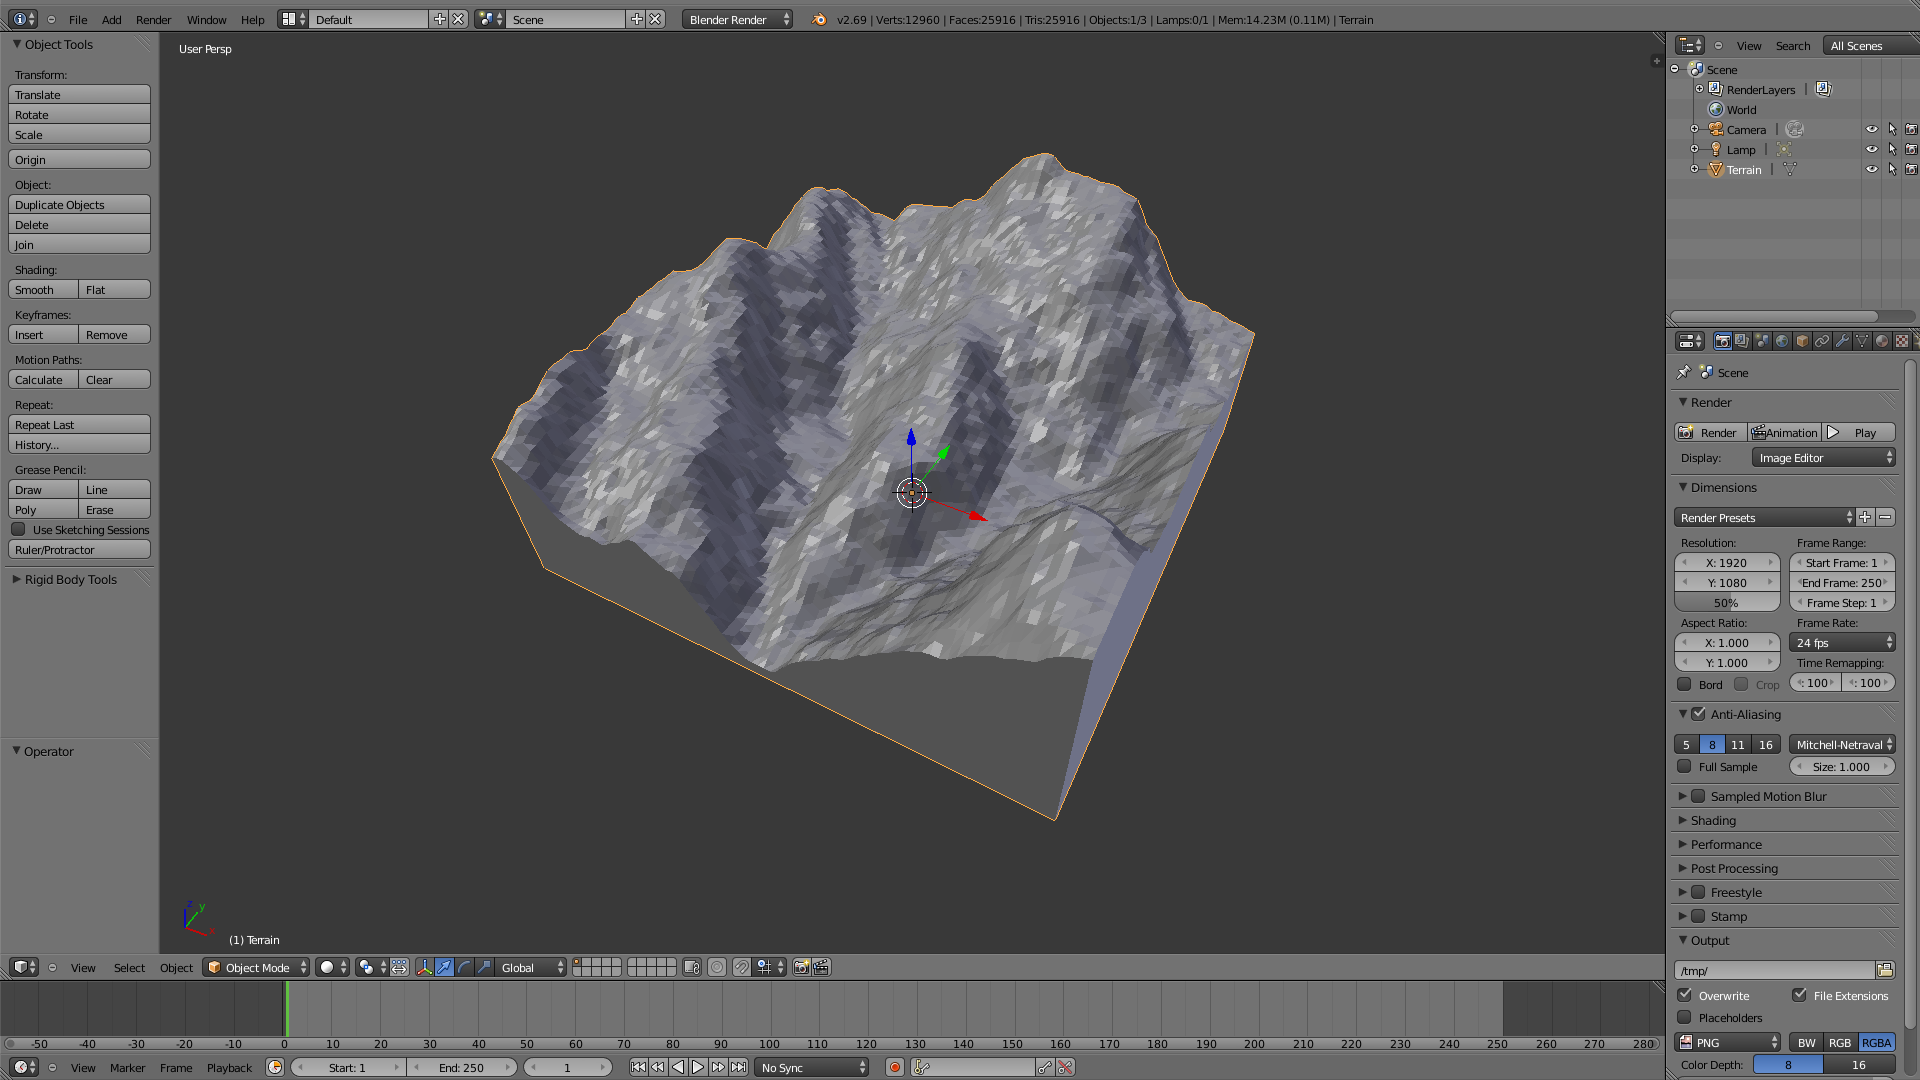
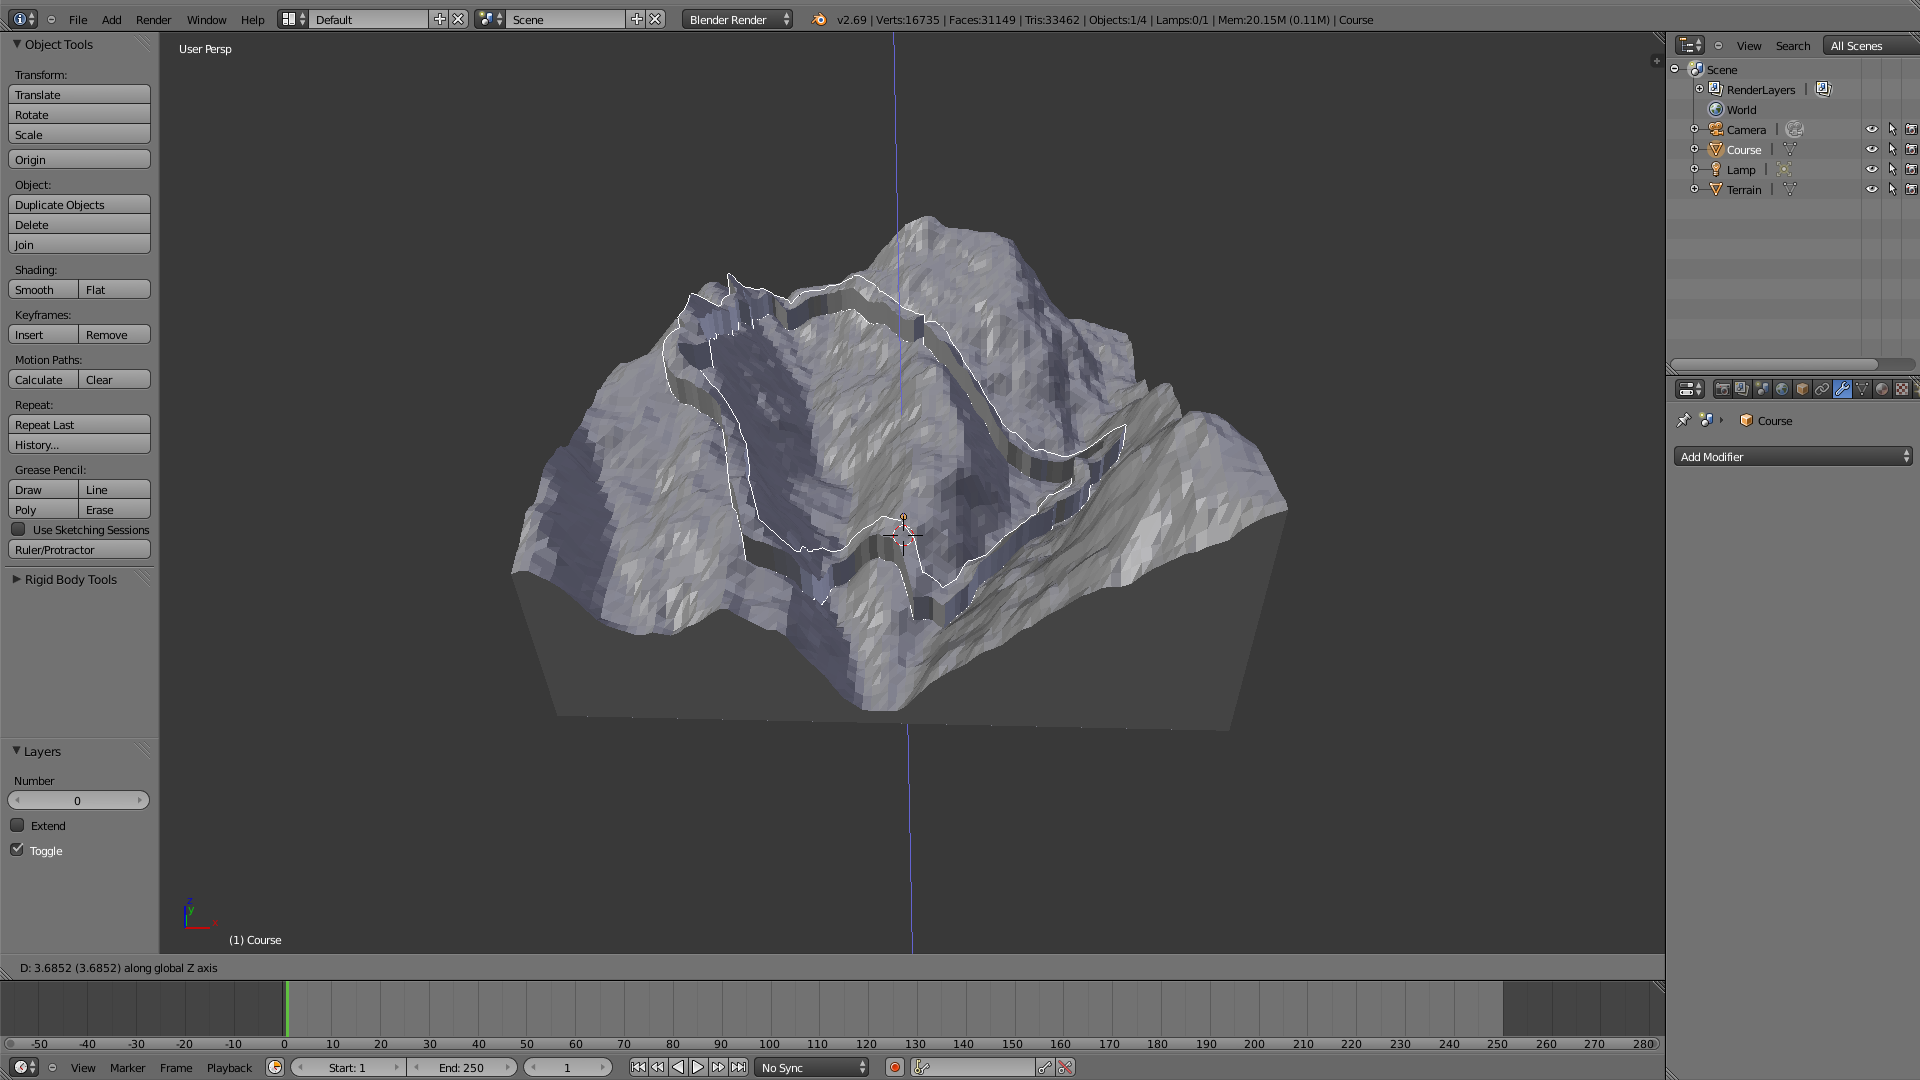
Find your terrain model. Mine is called terrain.stl. Depending on scale, it may appear much larger than the current view:

Use the scroll wheel to zoom out until the whole model is visible. (Click and drag the scroll button to rotate the view; hold down Shift while you drag the scroll button to pan around the view.)
Next, repeat the File > Import > Stl process to load your course model. I’m using a constant-height course profile called course.stl generated with GPXtruder. (We’ll use the terrain model to clip the course to the right height, so your GPX file doesn’t need to include elevations to use this method.)
Cutting a Course Channel in the Terrain
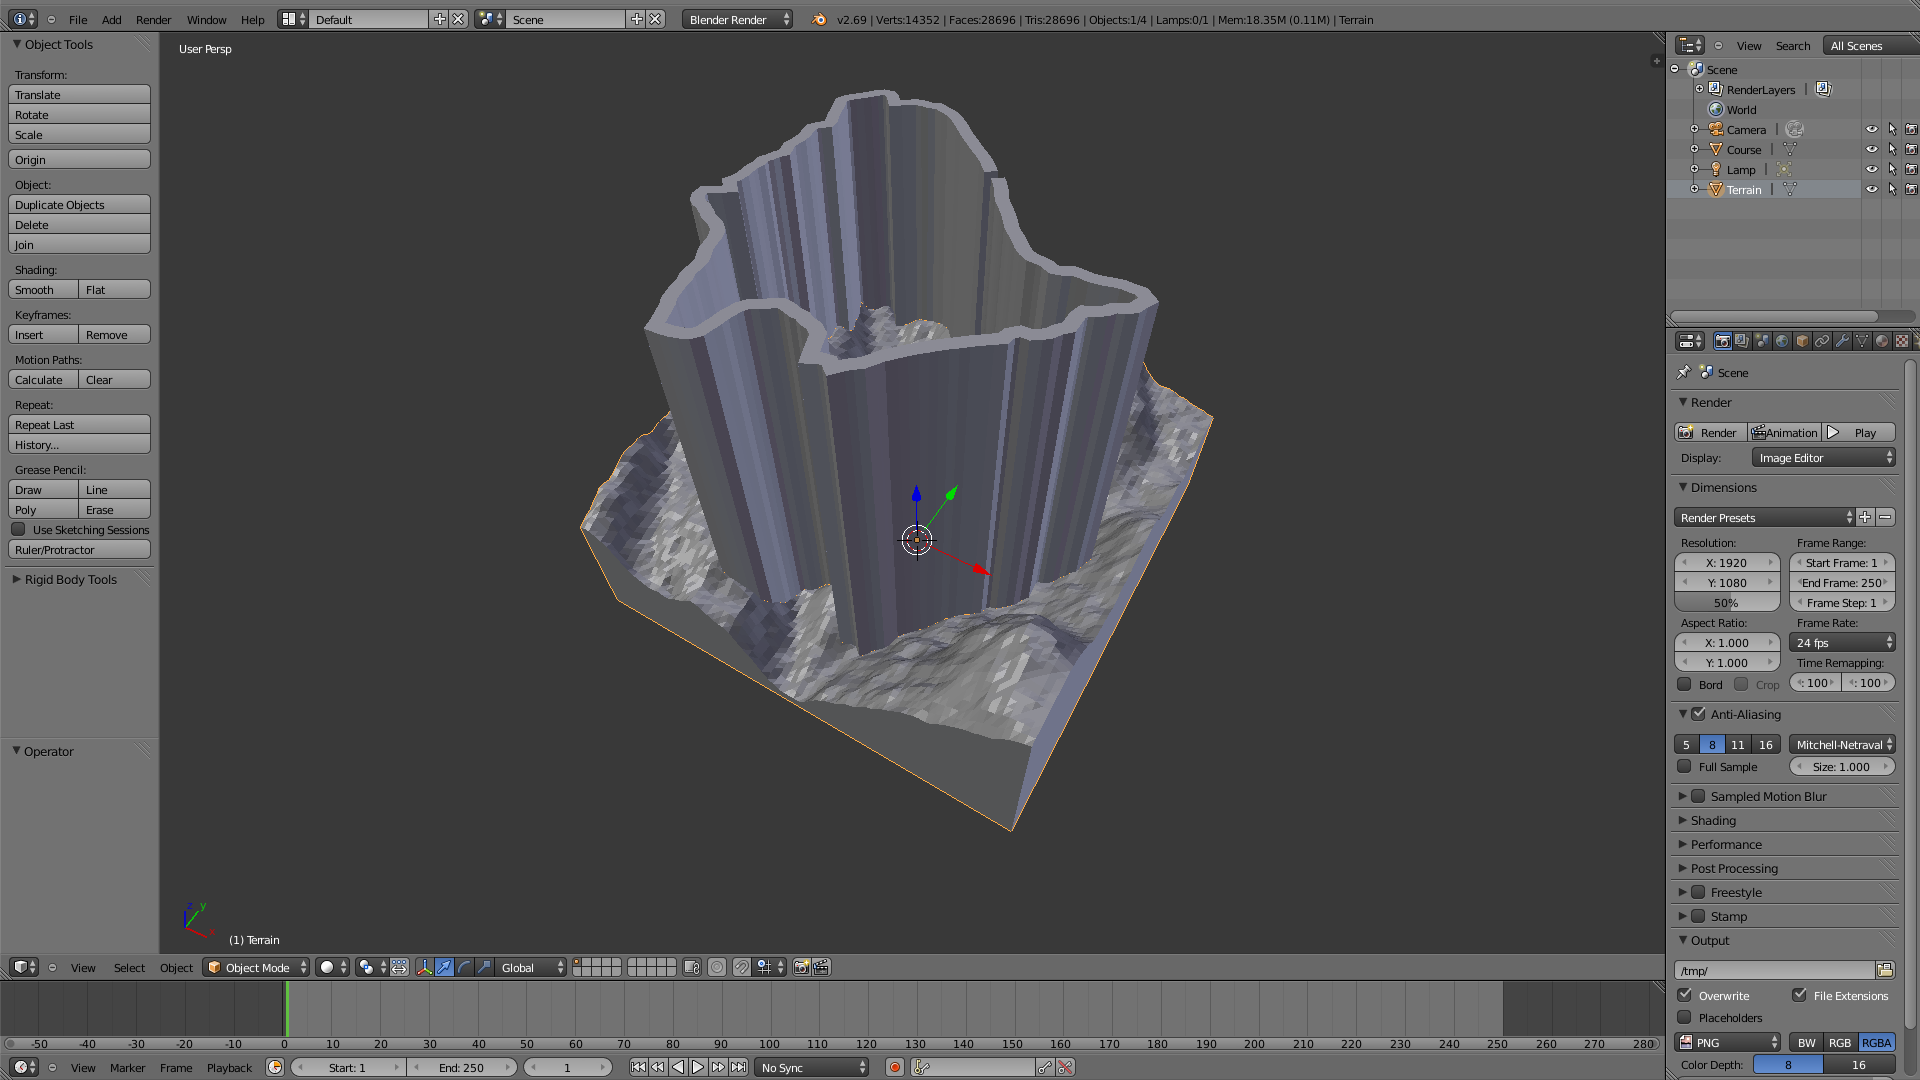
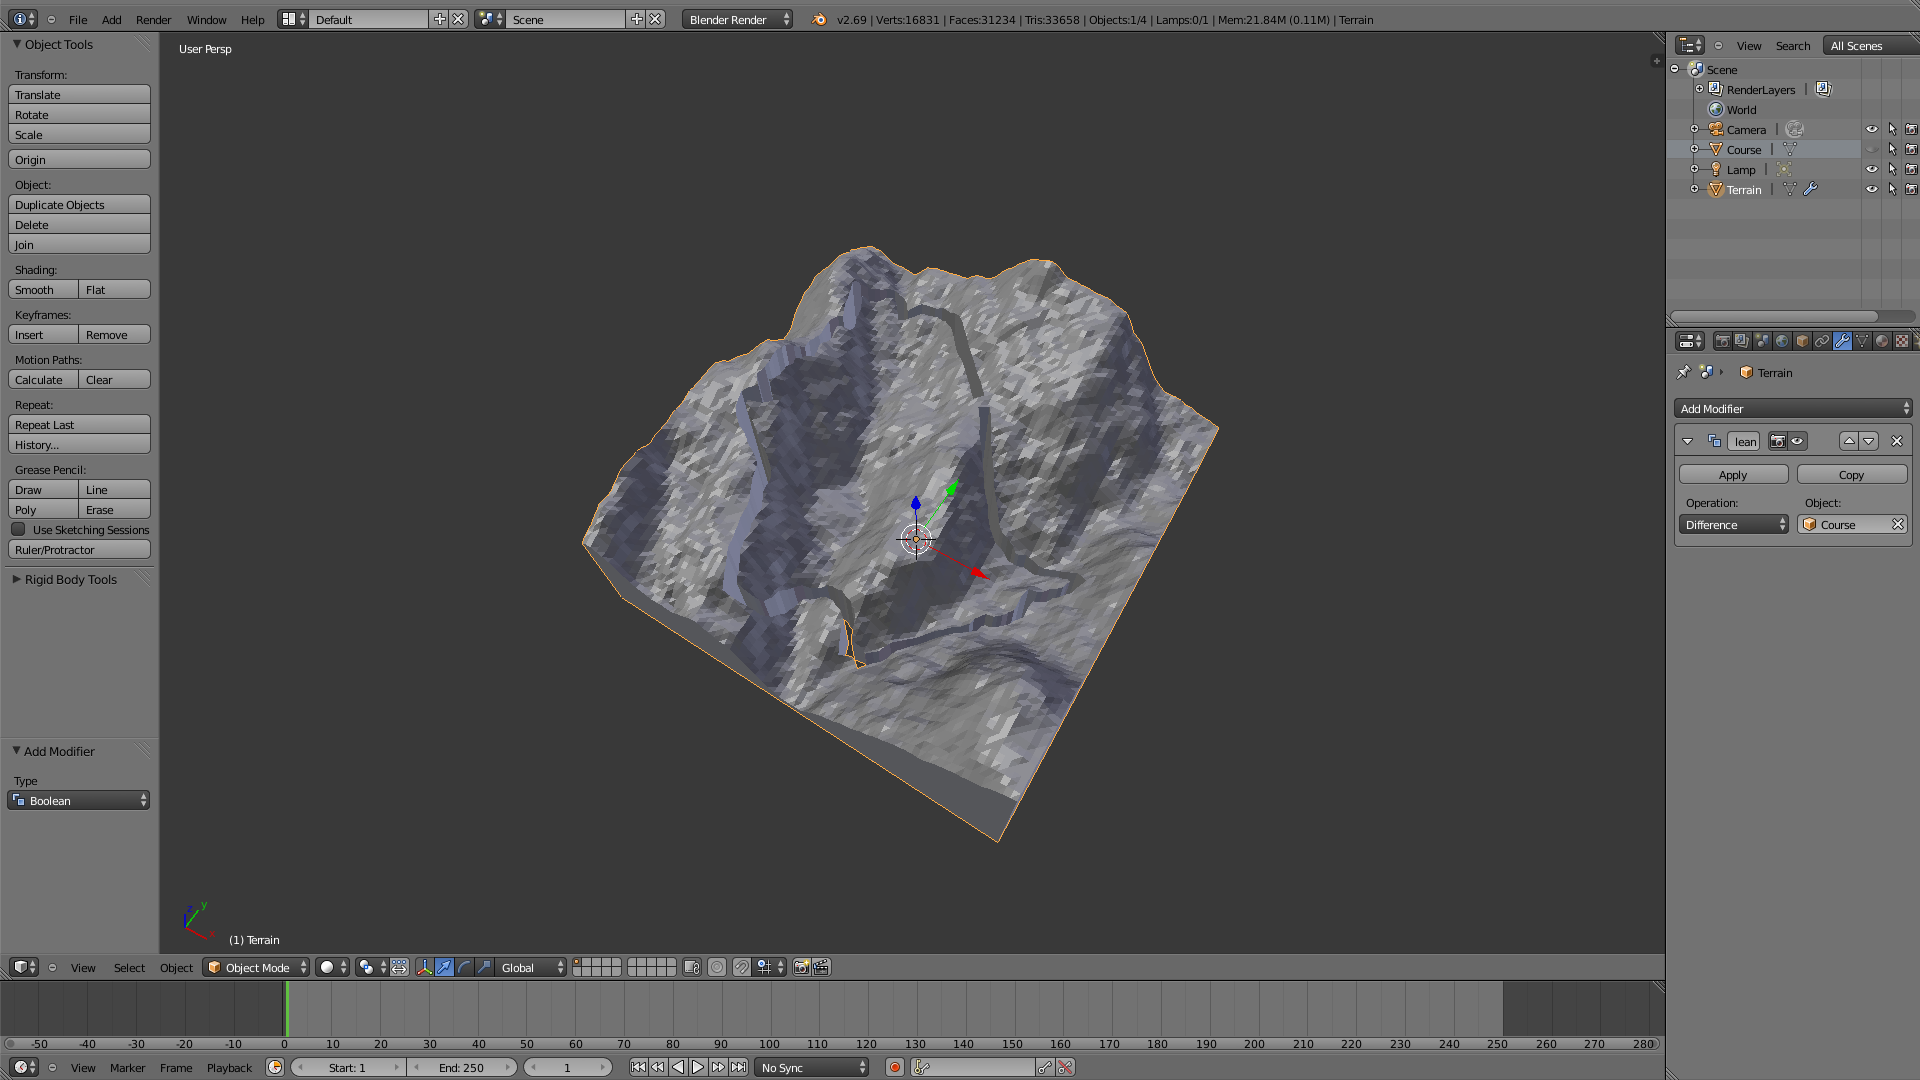
First, we’ll look at how to use the course profile to carve a corresponding slot in the terrain model. Make sure the terrain model is selected in the Scene list; it should appear with an orange highlight:
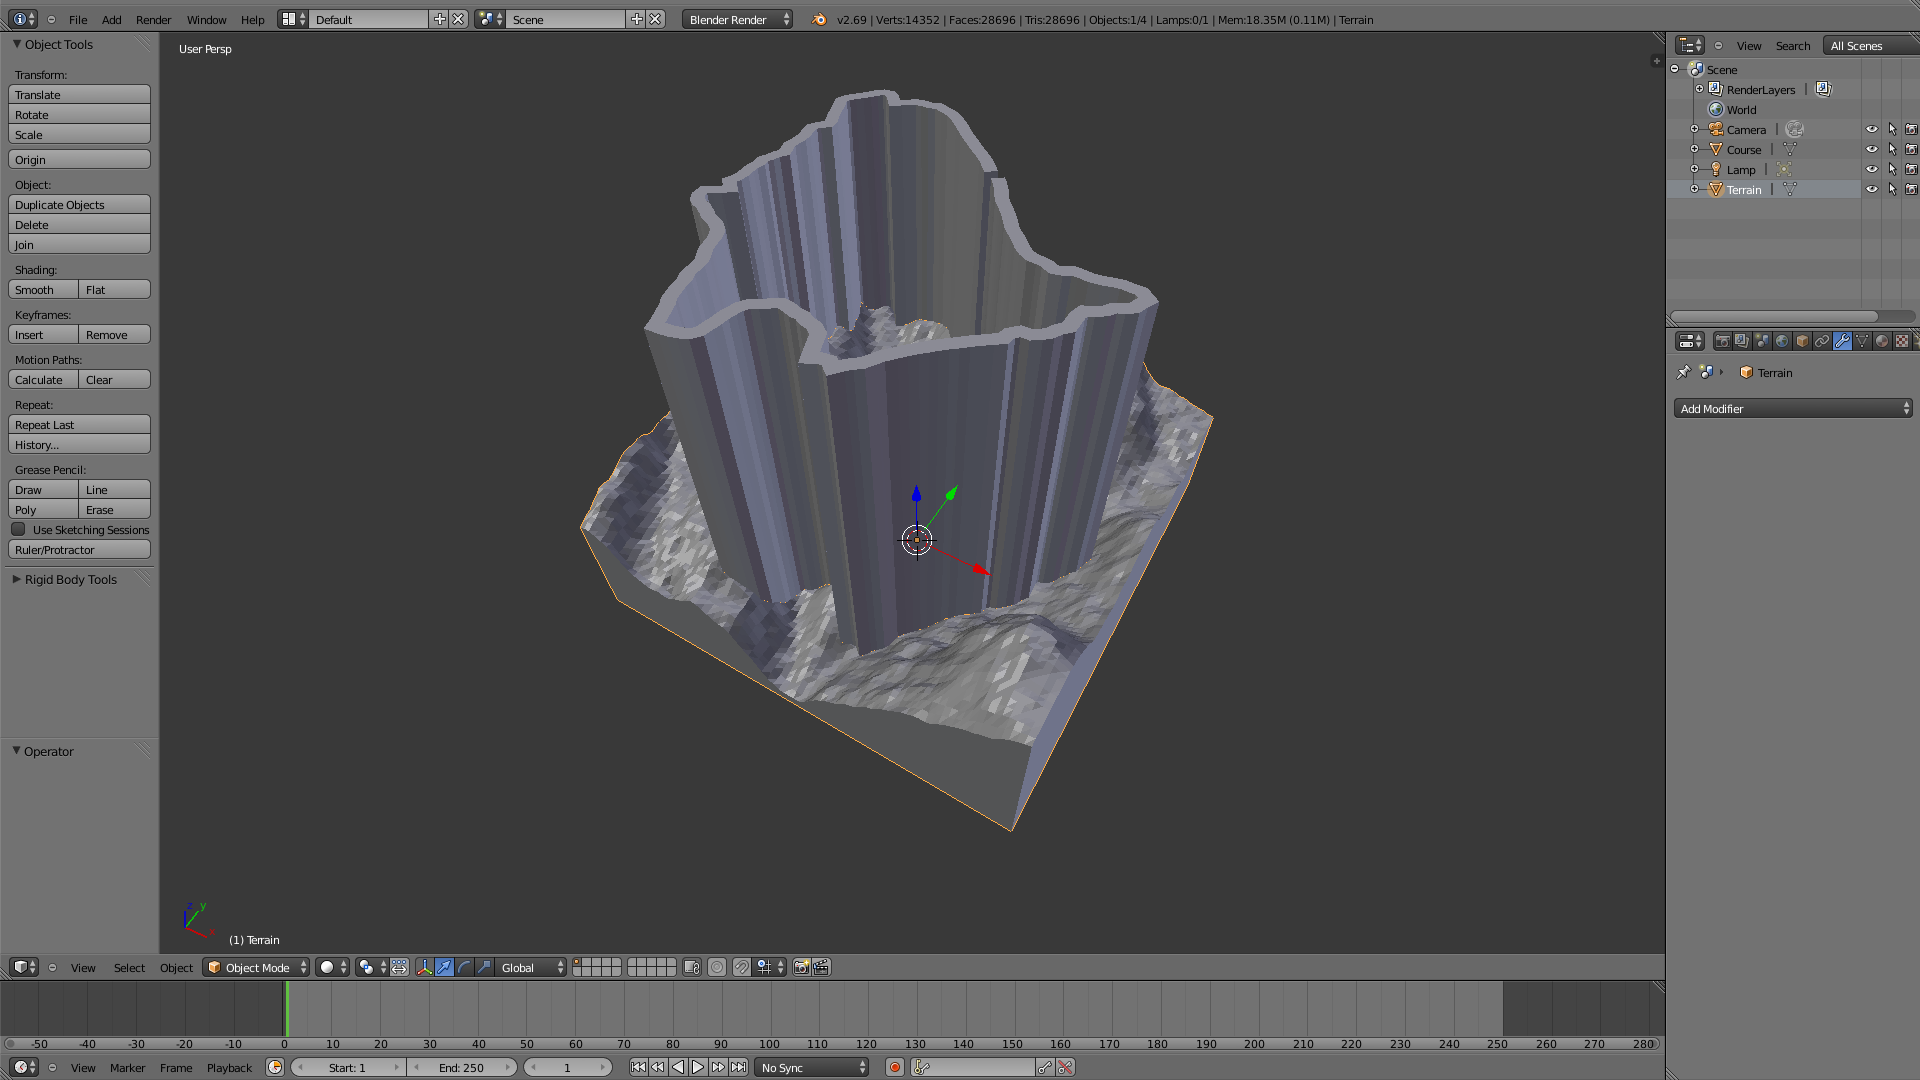
Next, select the Modifiers tab in the panel below the Scene list. Its icon looks like a wrench:
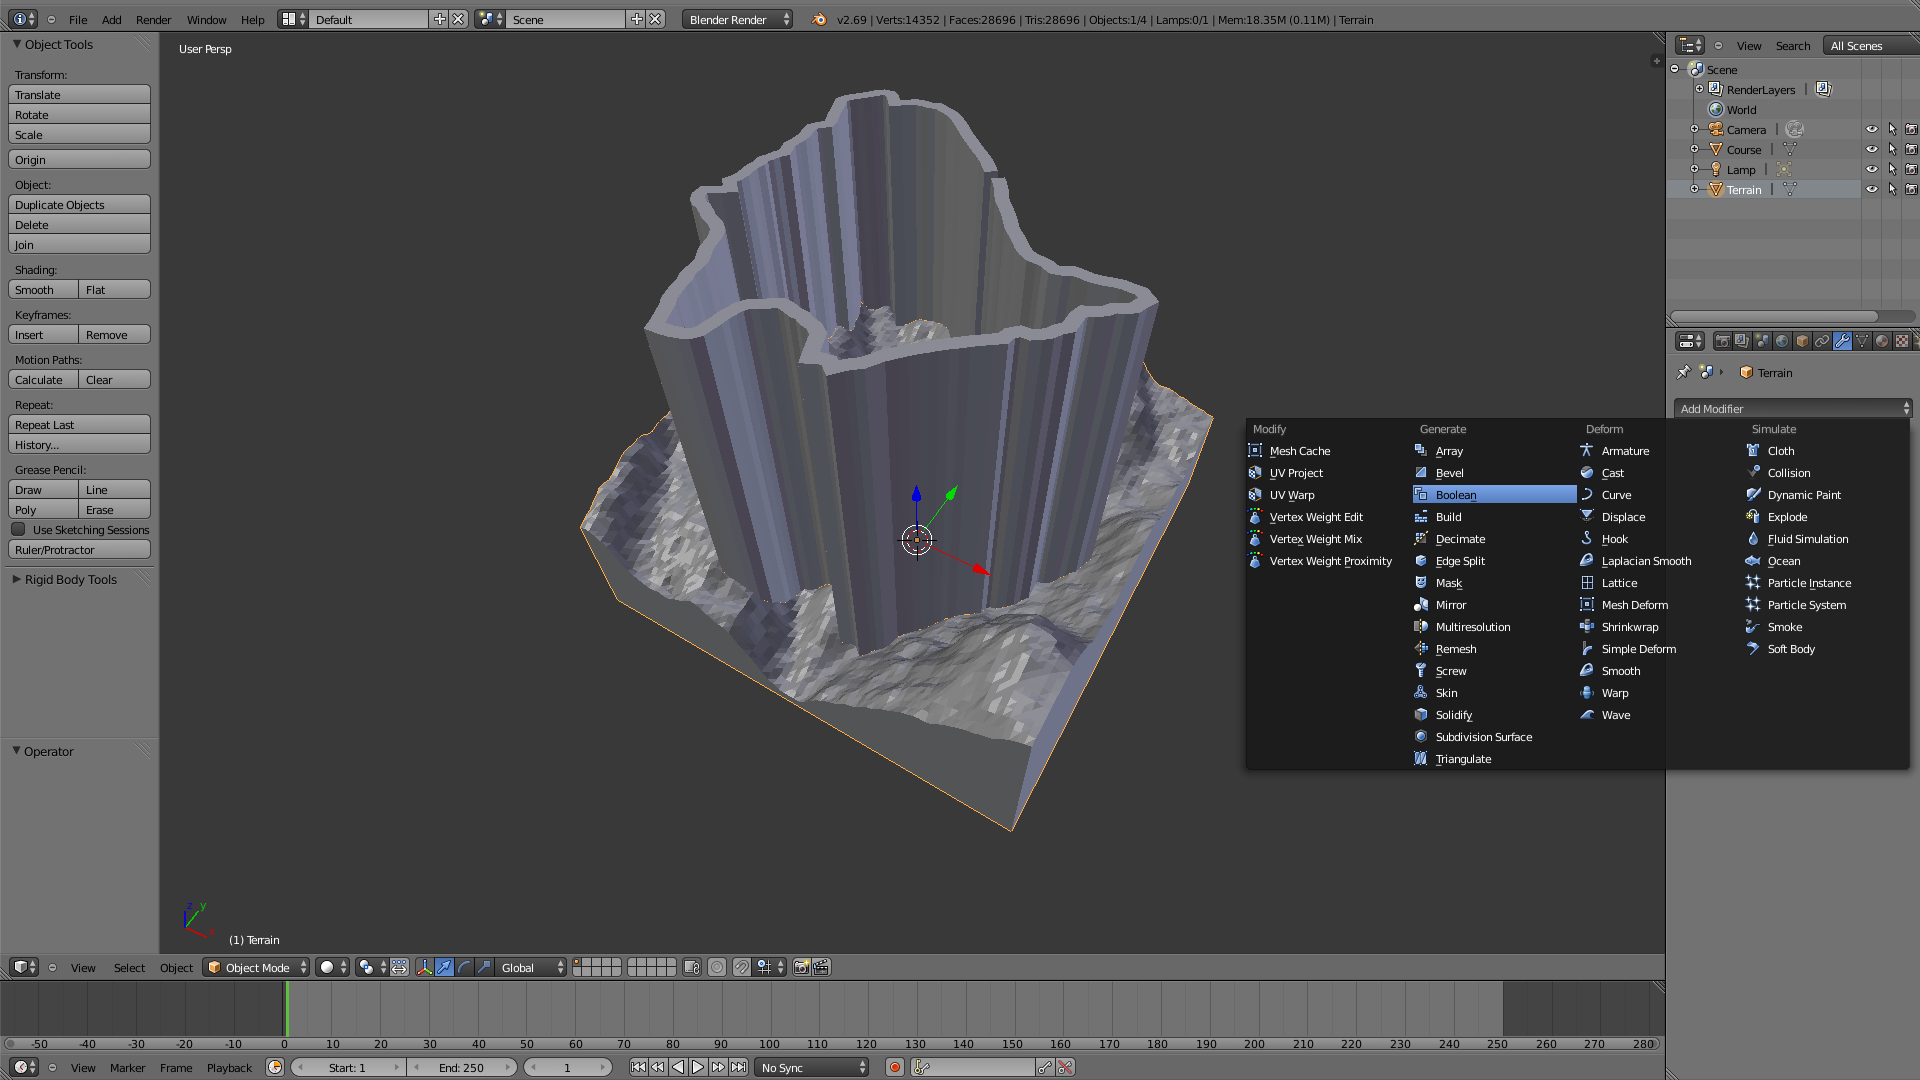
Click the Add Modifier button and select Boolean from the Generate category:
Select Difference from the Operation menu…
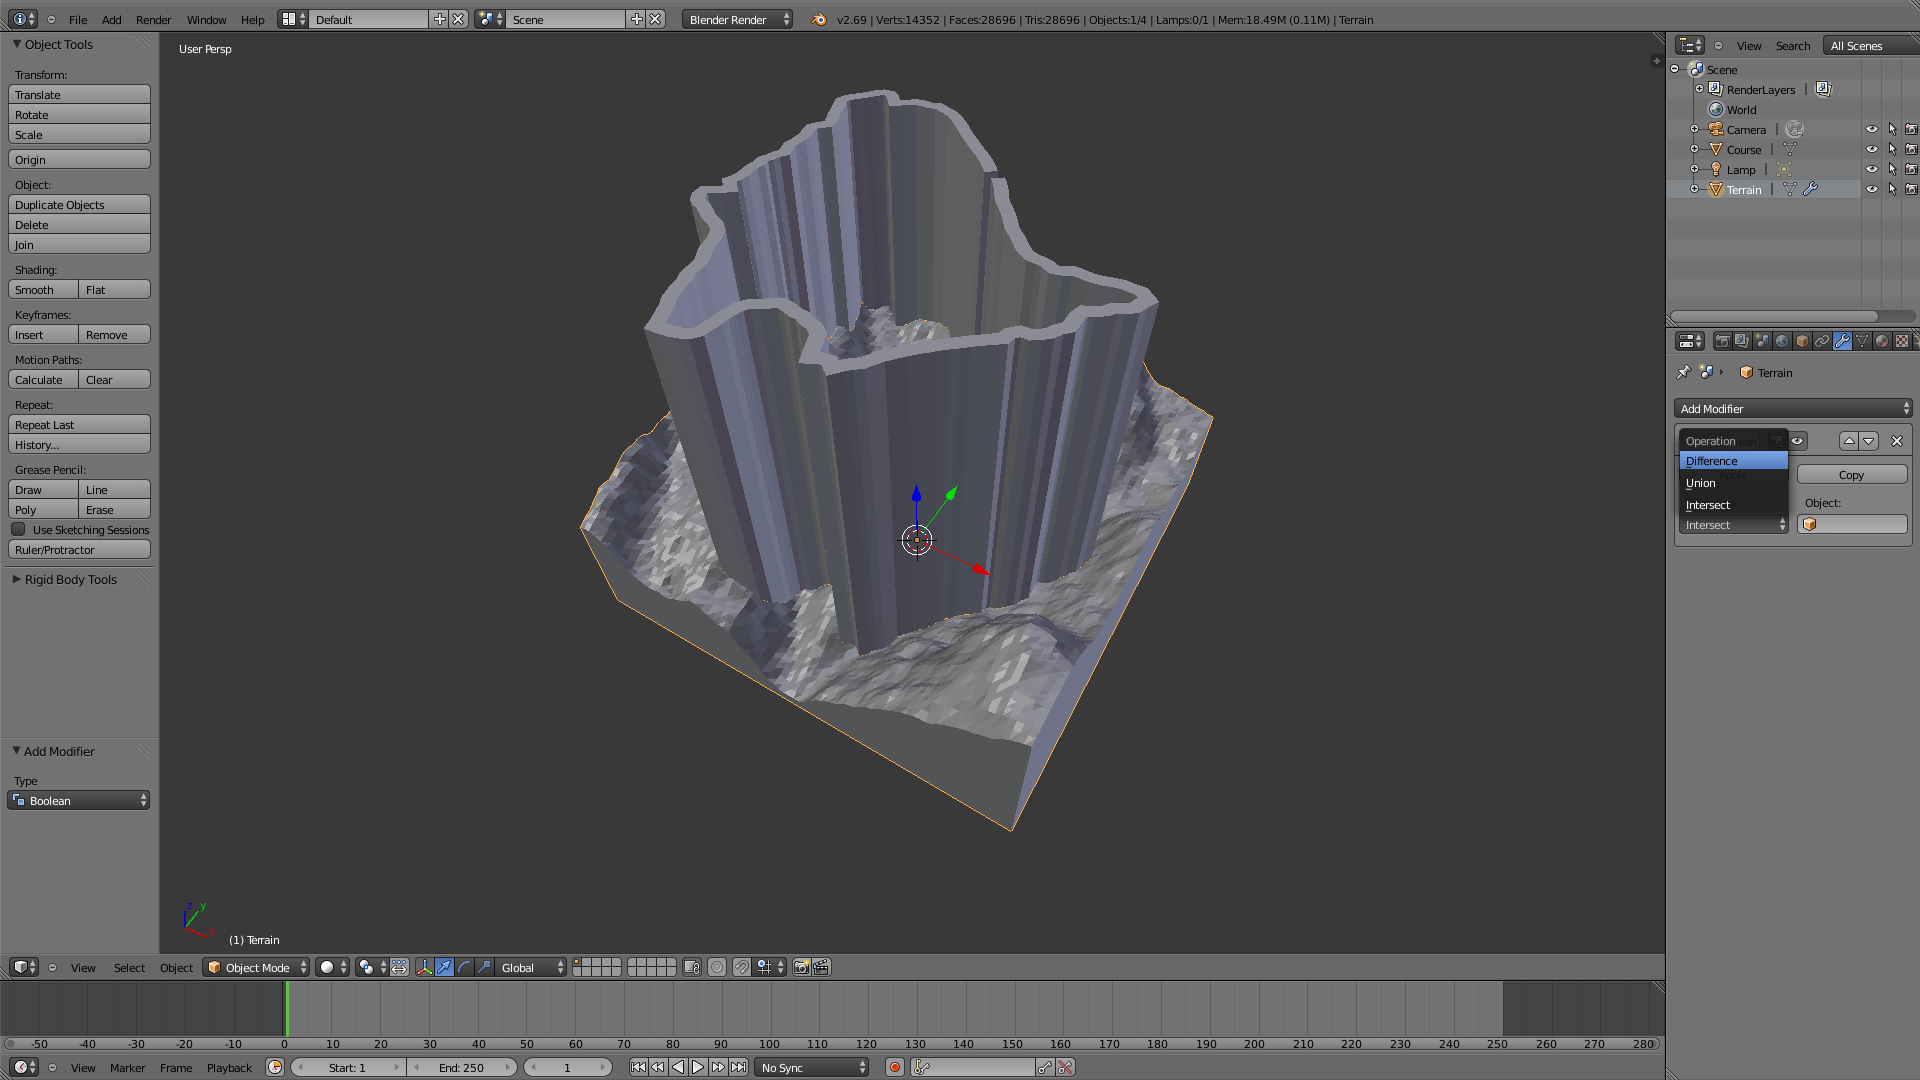
… and choose the Course profile model from the modifier’s Object menu:

Uncheck the small “eyeball” icon next to the full course model in the Scene list to hide it so you can see the modified terrain:
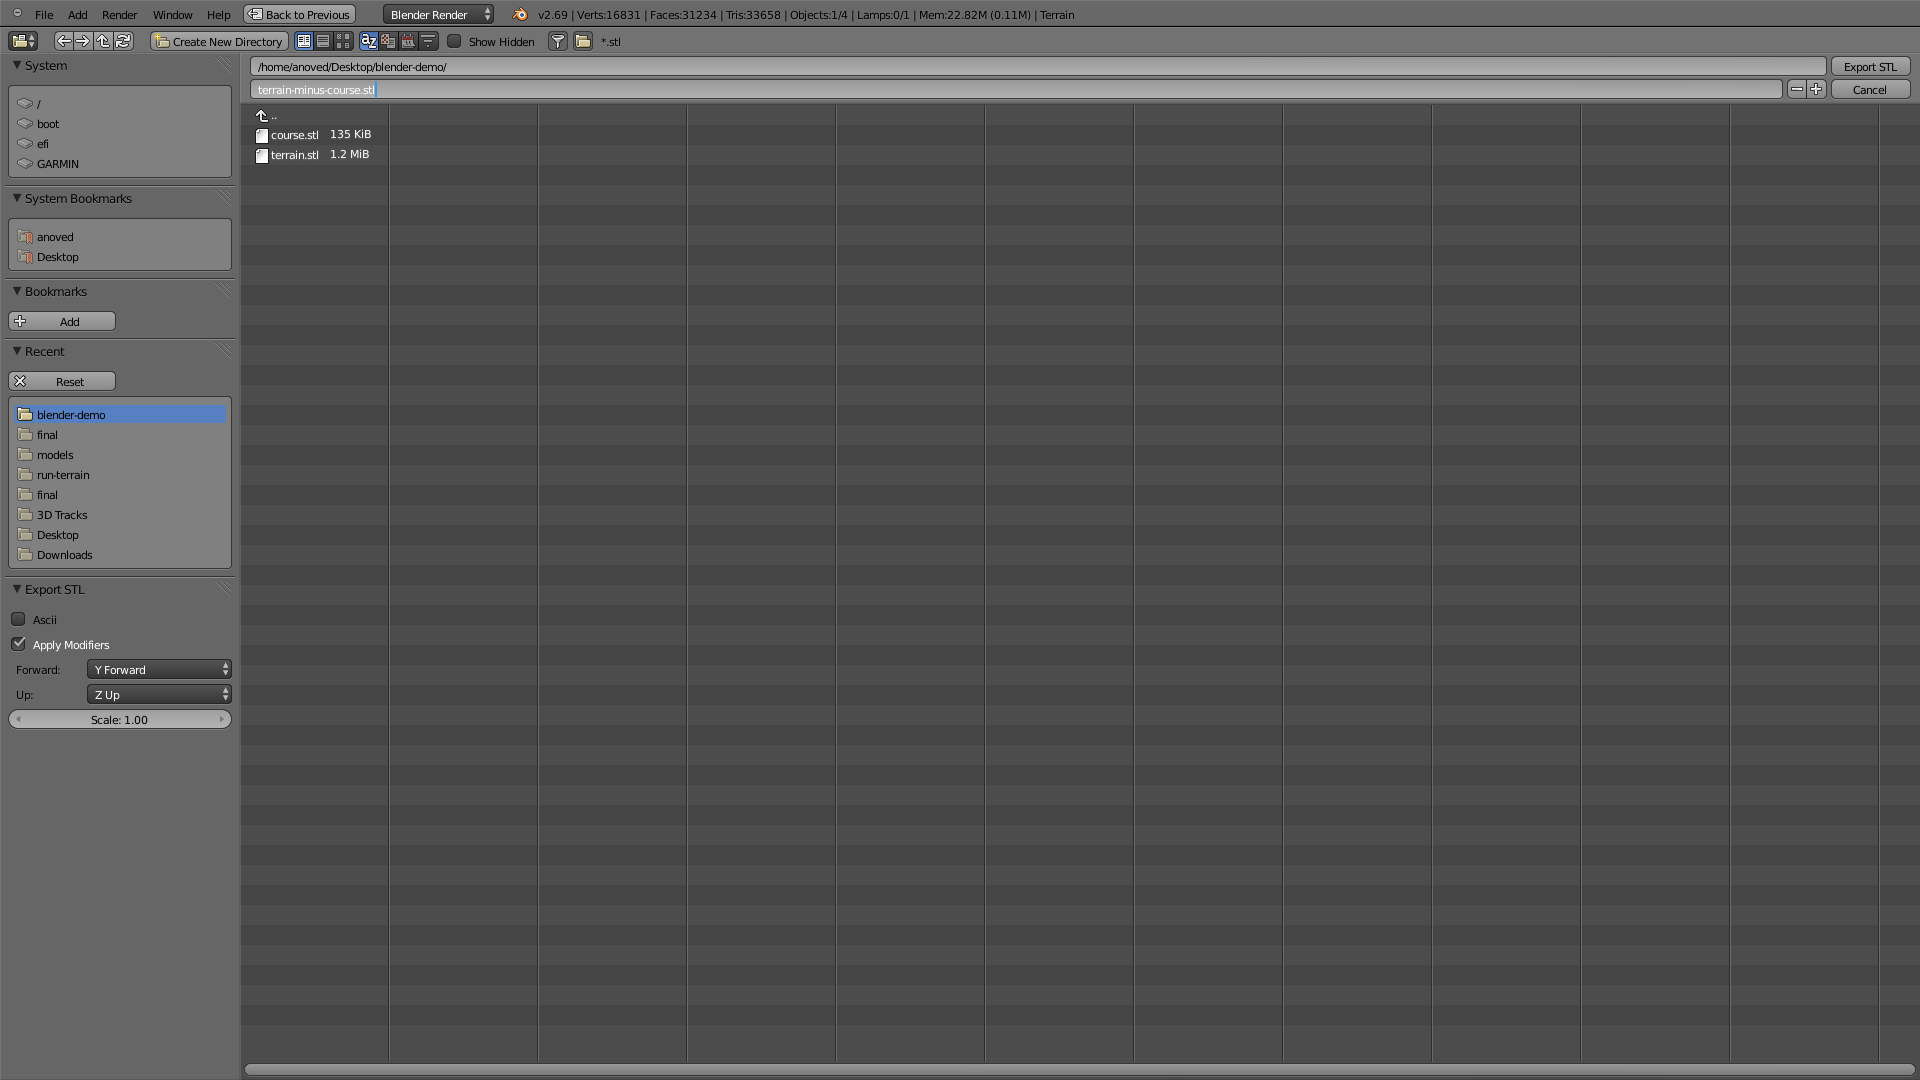
To save the modified terrain, go to the File menu, select the Export submenu, and choose Stl. Name the model and click Export Stl:
Click the X in the upper right of the Boolean modifier panel to discard the changes and check the eyeball next to the course model to make it visible again.
Clipping the Course to the Terrain
Now we’ll trim the top off the course model so it is flush with the terrain surface. With a little tweaking, this will result in a course profile you can slip into the slotted terrain created above. (See my Whiteface Vertical K model for a printed example.)
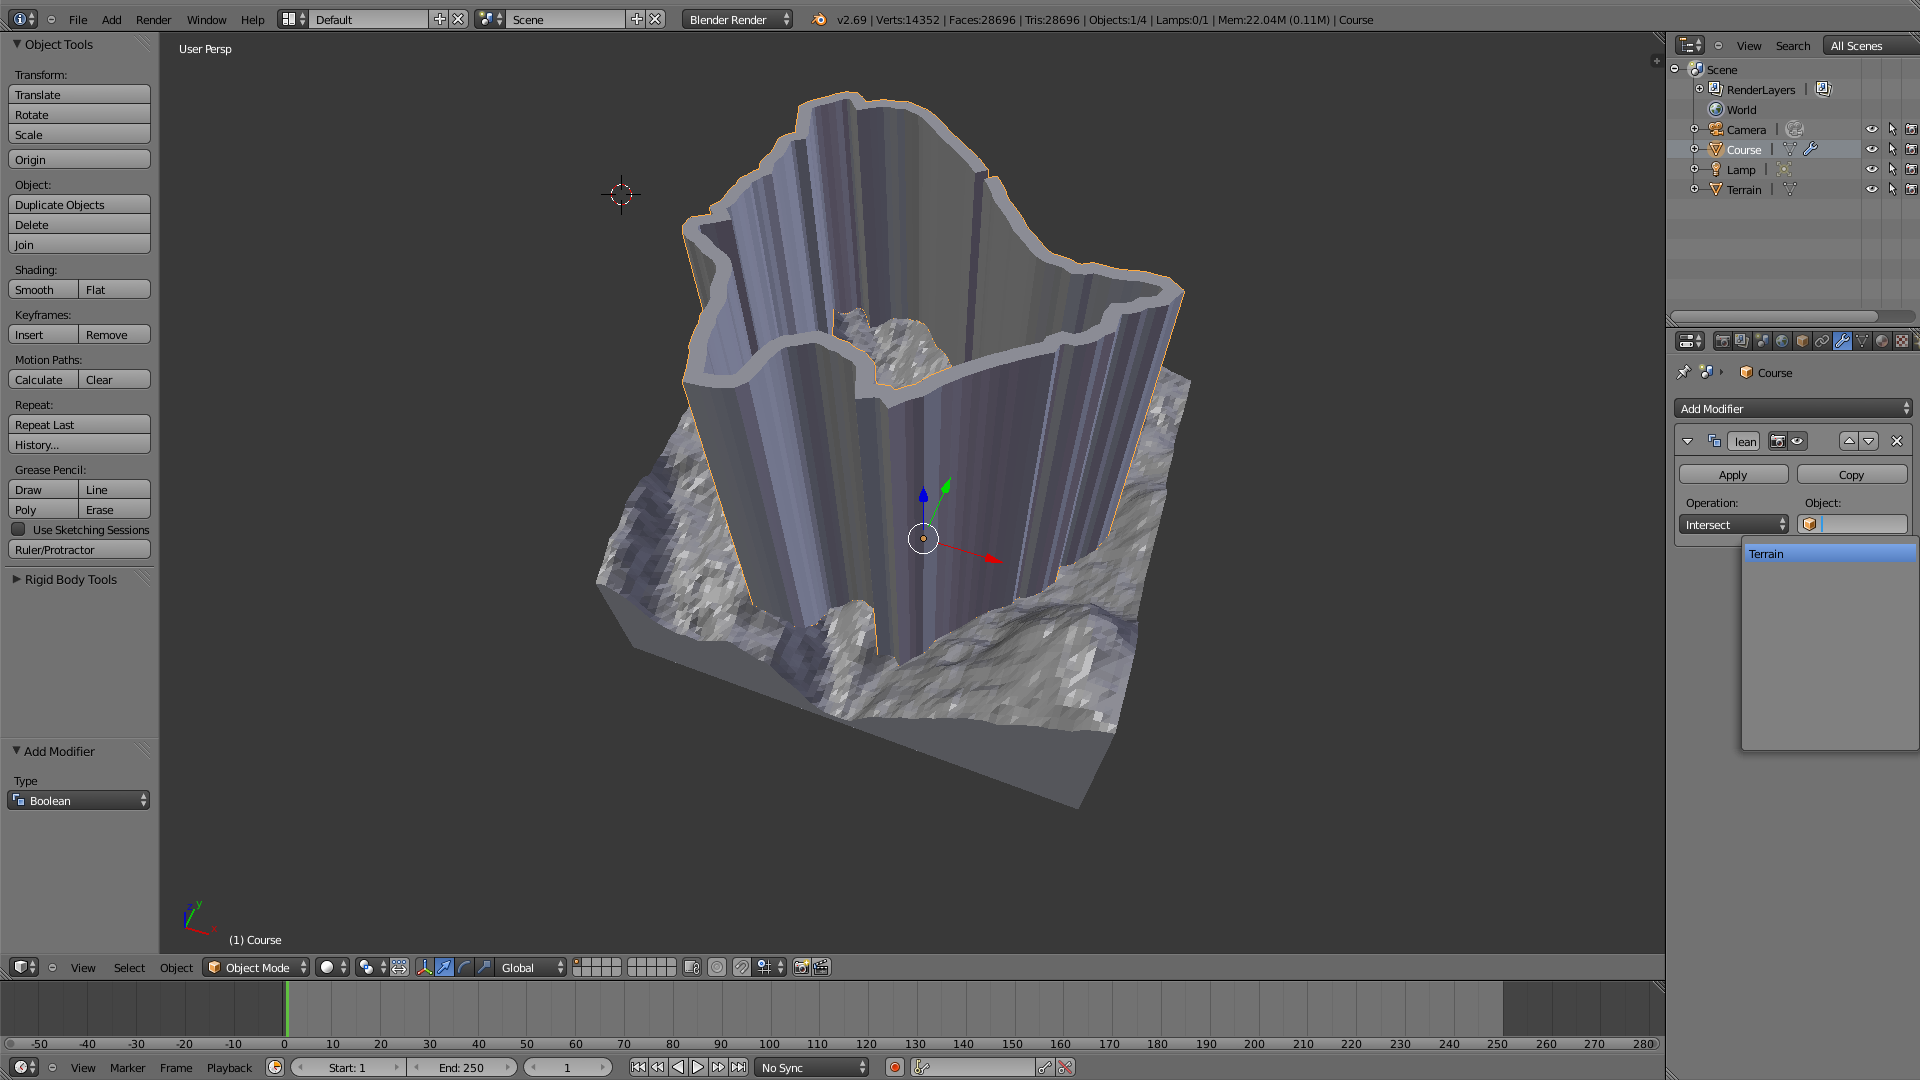
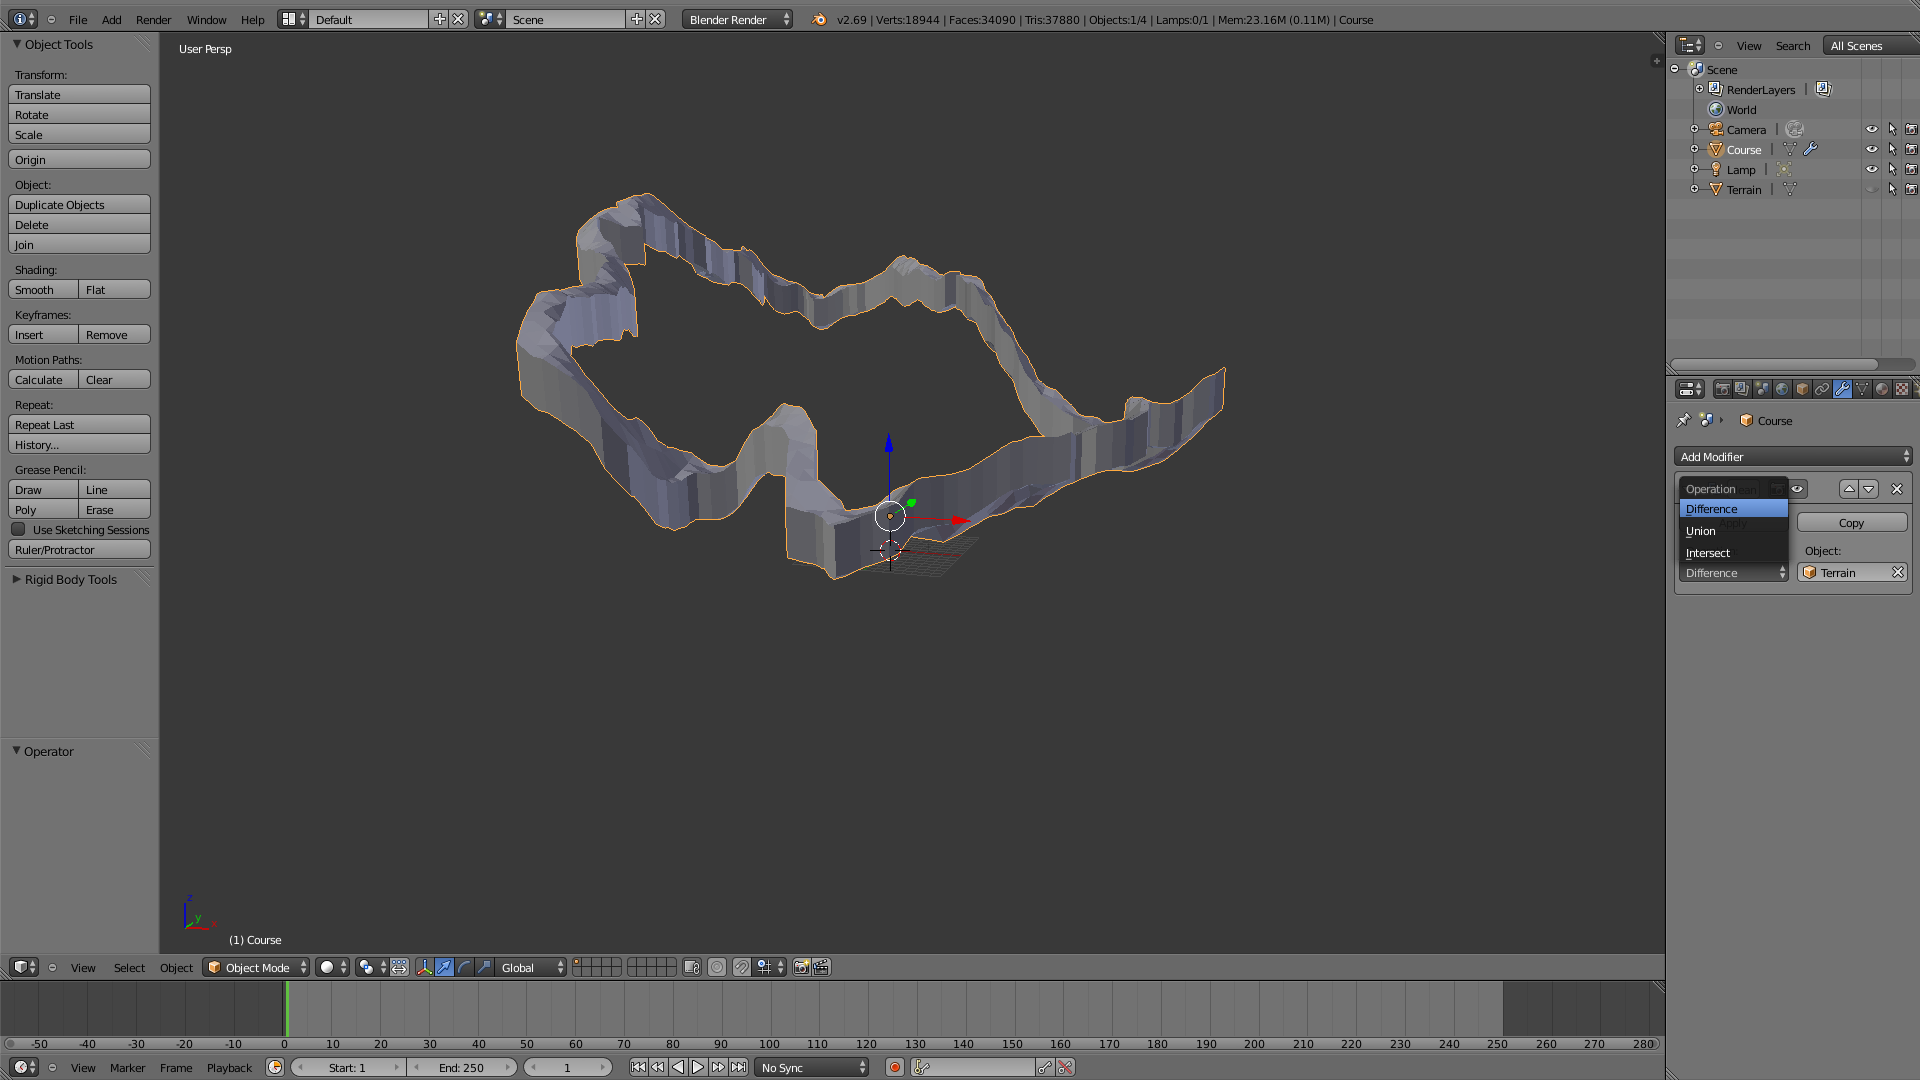
Start by selecting the Course object; it’ll appear highlighted in orange:

Add a Boolean modifier using the same process demonstrated above. This time, select the Intersect operation and choose the Terrain object as the model to intersect with the course:
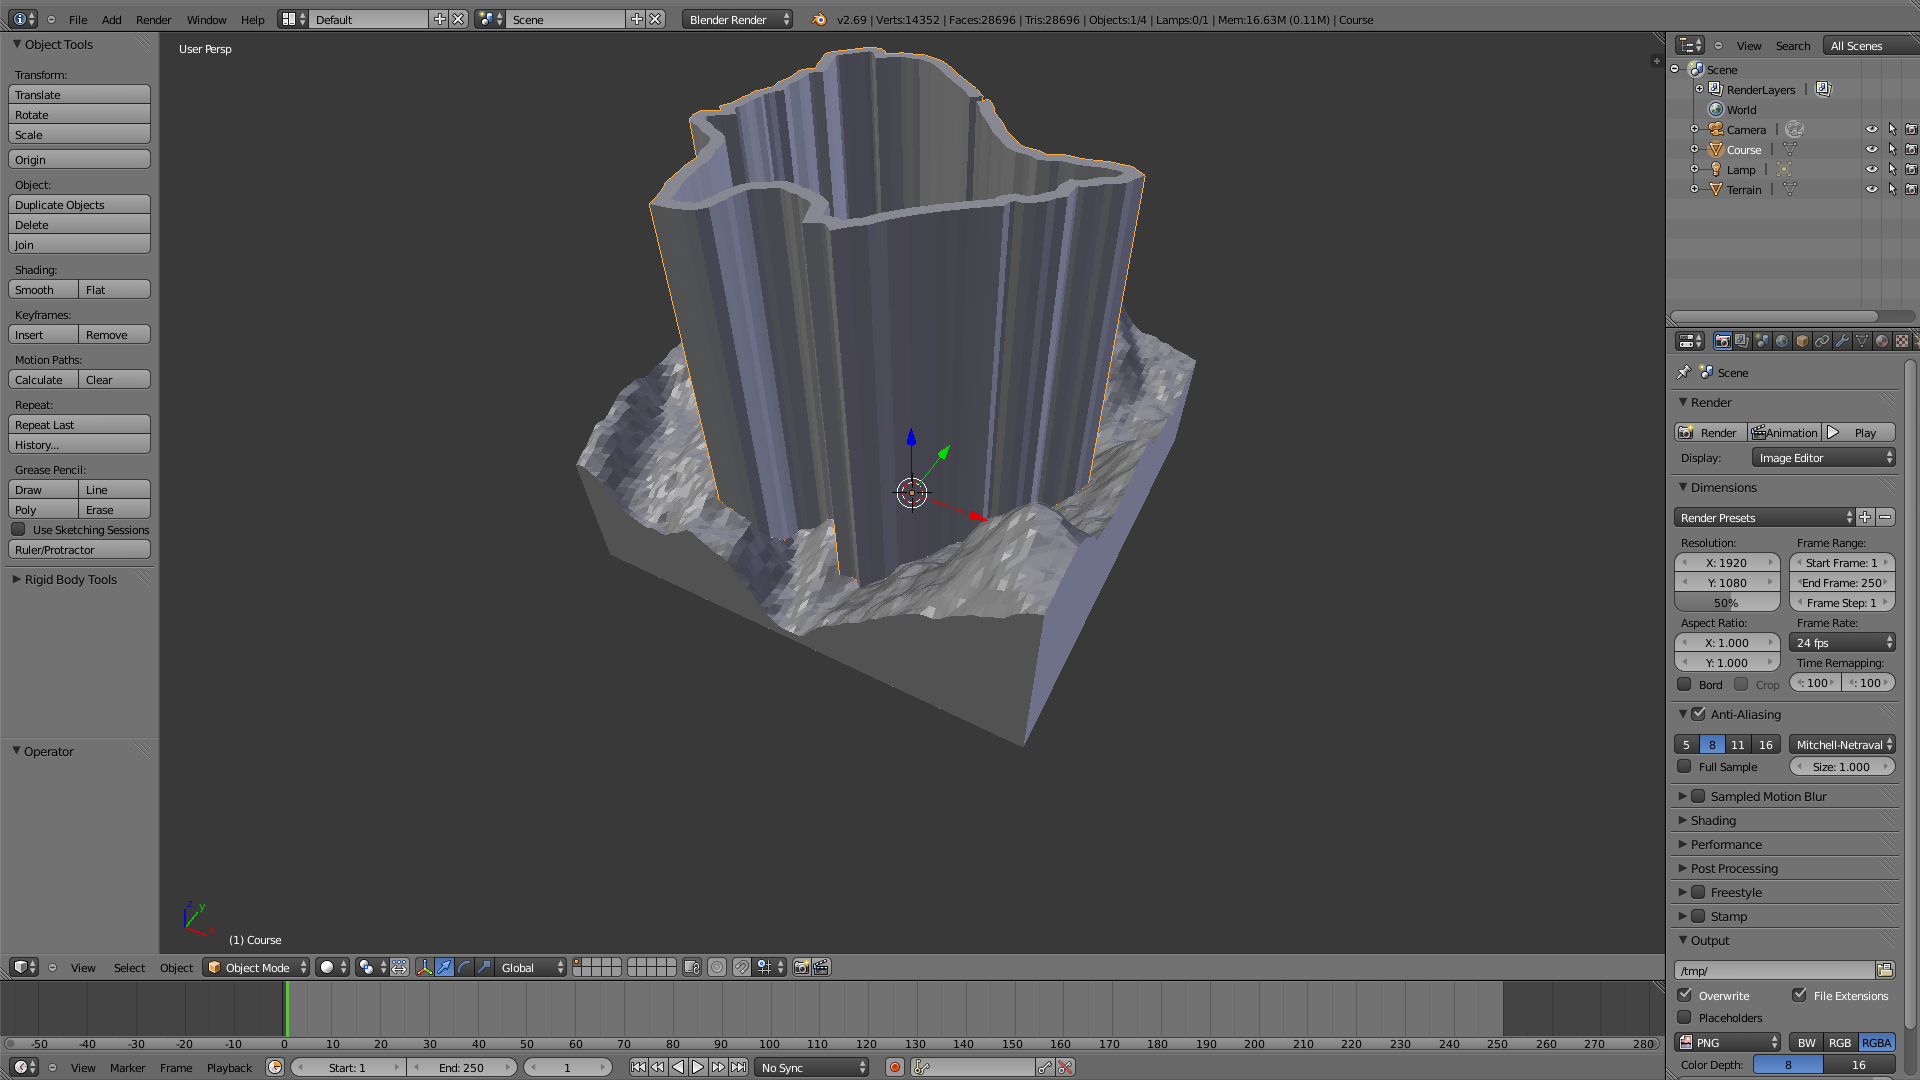
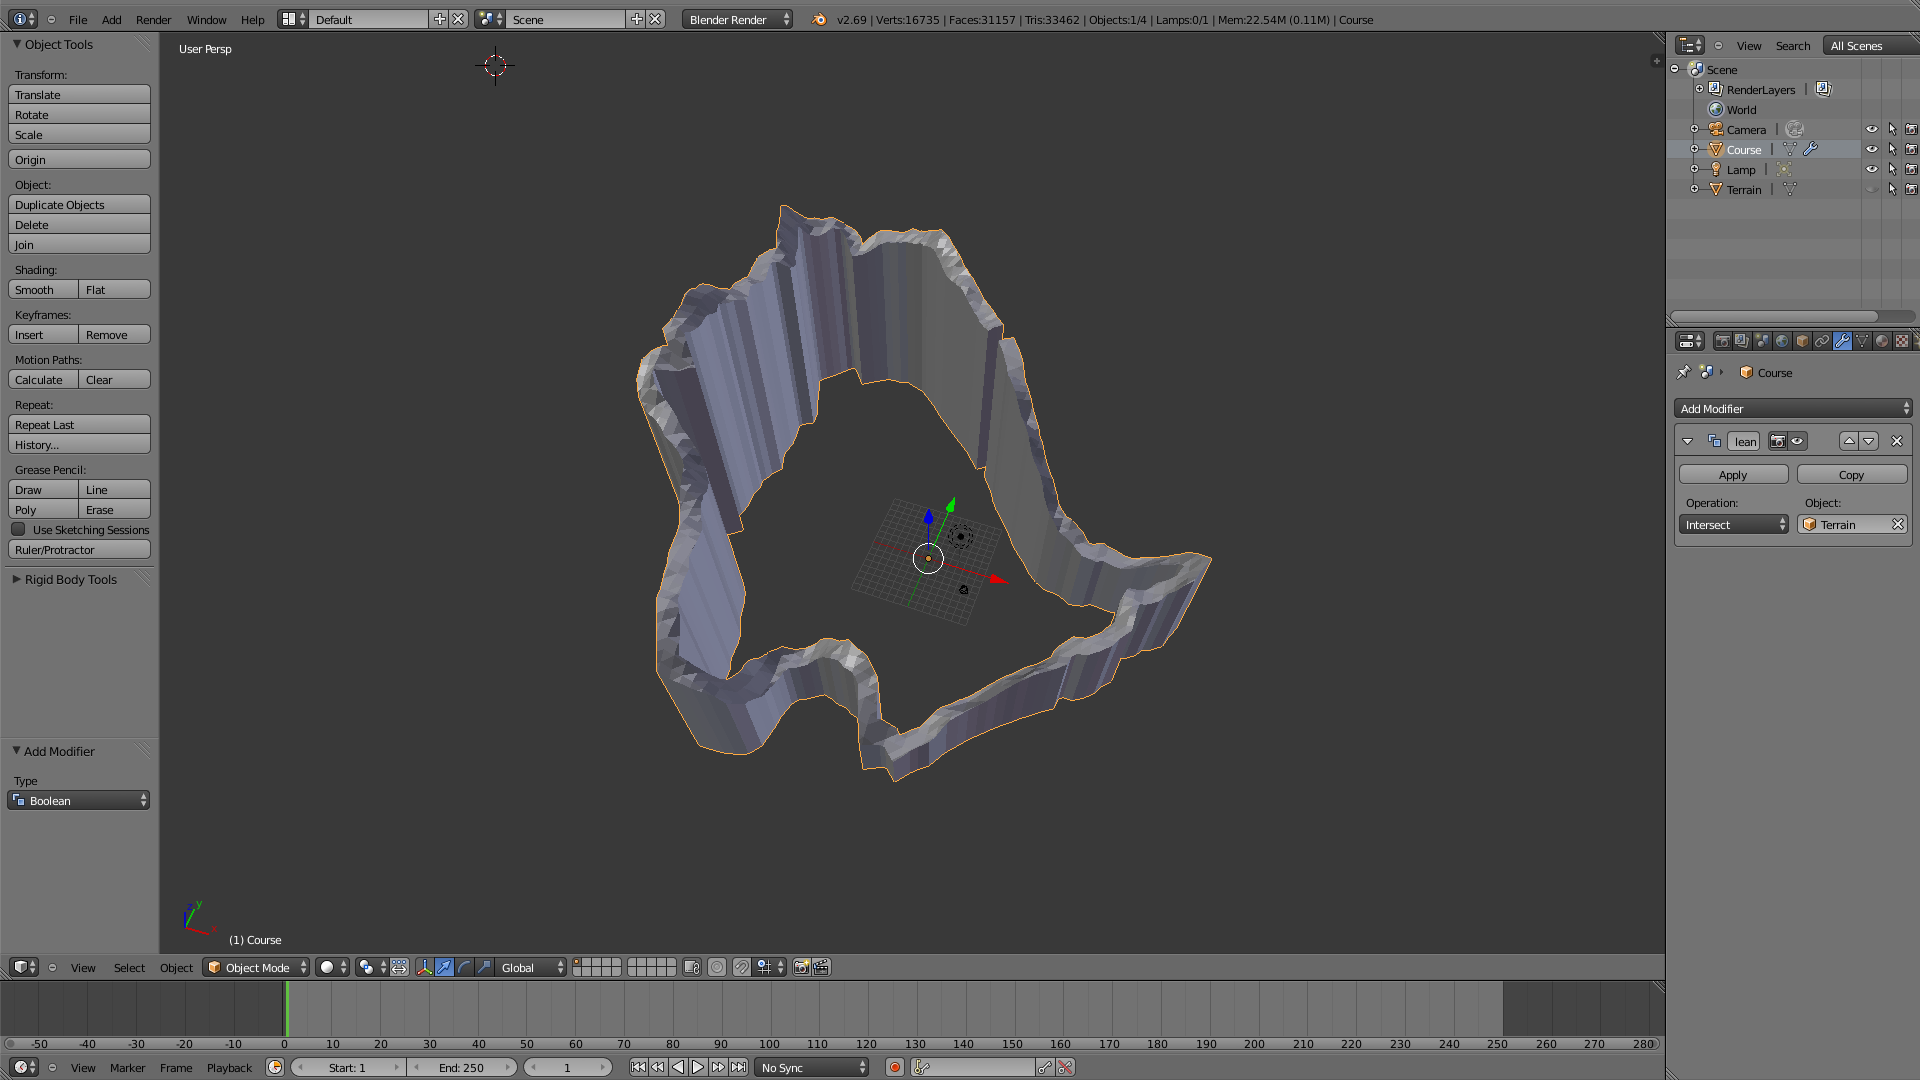
Hide the original Terrain model, and you’ll see the Course has been modified: everything above the terrain surface has been discarded.
Export this part with File > Export > Stl again.
Merging the Course with the Terrain
We’ll reuse the intersected course for the remaining examples. Click Apply in the Boolean modifier panel to “commit” the change. Restore the terrain model’s visibility. Your view should look something like this:

Now we’re going to interactively shift the Course model up a bit so it appears as a ridge sitting on the terrain surface. With it selected (highlighted in orange), click and drag the right mouse button in the main view to start moving the object. You can release the right mouse button and it will remain in move mode. Now click the scroll button to constrain the motion to nearby axes. You may need to adjust the view and retry this a few times to get the hang of it; you want to move the object up along the blue Z axis. Once you’ve got it positioned, click the left mouse button to confirm the new placement.
Now add a new Boolean modifier to the Course model. (Remember, we applied the previous intersection operation, so we’re already working with its results.) Make it a Union operation with the Terrain object: this will combine them into a single object. You’ll see some zany highlighting since the resulting object overlaps the original terrain.

Export the unioned Course for a model representing the course and terrain as a single part.
Route Draped on Terrain
Alternatively, switch the Union operation from the last step to Difference. This will trim everything below the terrain surface from the course, leaving you with a contoured strip you can print separately (with a lot of supports) that will sit flush on top of an unmodified copy of the terrain.
This style of route is demonstrated in my Forest Frolic 7k model (on which these examples are based, incidentally).
For an alternative introduction to Boolean operations in Blender, covering the topic in a bit more depth, see Whitney Potter’s Blender Basics video.