Printrbot Tensioner
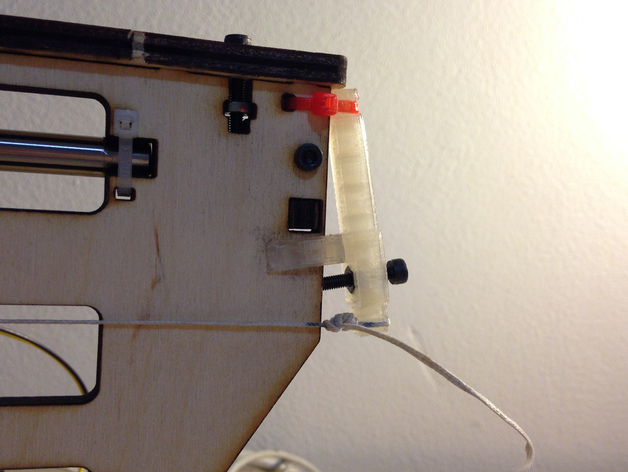
As a followup to my post about making printable models from PDF part diagrams, here is a replacement Printrbot tensioner I made using that method. (The original did not need to be replaced; I just chose this part as a simple test case. It’s working great.)
The original tensioner is assembled from two laser-cut wood parts, numbered 21 and 22 in the Printrbot Simple’s diagram. I exported the patterns per the process described in the post linked above and combined them using the following OpenSCAD script. Note that part 22 has a partly recessed socket for a hex nut, which I exported separately.
module part_22() {
	difference() {

		// Part 22, with bolt holes
		linear_extrude(height=6) import("part-22.dxf");

		// Subtract the hex nut socket from part 22
		translate([398.15 - 394.29, 525.66 - 489.21, 3])
		linear_extrude(height=3) import("part-22-hex.dxf");
	}
}

module part_21() {
	// Part 21, not including hole through which 22 goes
	linear_extrude(height=6) import("part-21-solid.dxf");
}

union() {
	part_22();
	translate([0, 36, 458.88 - 462.4]) rotate([90, 0, 0]) part_21();
}
The parts are aligned using positions reported for each feature in LibreOffice. The actual position on the page doesn’t matter; only the difference between them is used to get things centered.
The STL exported from this script could be used to make an exact replacement for the original assembly. Instead, I imported it into SketchUp using the SketchUp STL plugin and made a few changes to simplify the part and make it easier to print without supports. This is the final version published on Thingiverse.
Posted on Tuesday, February 11th, 2014.