iTunes Library Item Transfer
My laptop has a 60 GB hard drive. I have a 500 GB external drive which houses my iTunes library and other media. I like to keep some iTunes content on my laptop, but using the Finder or the “Add to Library” file browser to move particular things between libraries gets tedious.
So, I wrote a script that makes it a little simpler. Now I can use iTunes itself to select the items to transfer instead of browsing for the actual files to pull into the target library. Might not sound like a big difference, but it seems like less fuss to me.
Here’s how it works.
Download the script (5k) and put it in ~/Library/Scripts/Applications/iTunes.
Select some items in iTunes and run the script. iTunes will quit and you will be prompted to reopen it with a different library:
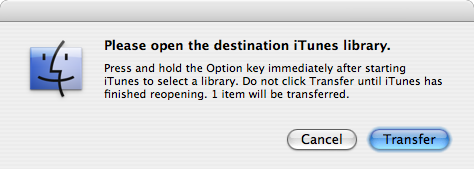
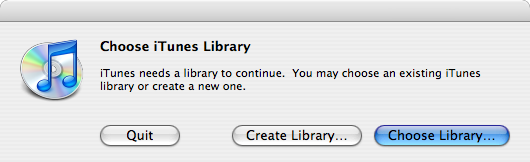
Hold down the Option key as iTunes starts up to select a different library. If you’re transferring files to a new library for the first time, you could even create the new library at this point.
Once you have finished choosing a library, return to the prompt and click Transfer. The items you previously selected will be transferred to the current library and shown in a new “Transfer” playlist labeled with the current date and time.
Tested with Mac OS X 10.4.11 and iTunes 7.5 with the “Copy files to iTunes Music folder when adding to library” option enabled under Advanced→General preferences.
I reckon this could be done with iPhoto, too.
Posted on Thursday, November 15th, 2007. Tags: applescript, itunes, mac.